Scanning a document with your phone/tablet to PDF
There are several applications which can be used to scan a document with your phone/tablet camera. Options include Microsoft Lens, CamScanner, Adobe Scan and Turboscan. Below is a quick guide to how to use Microsoft Lens and CamScanner:
Microsoft Lens
The university recommends Microsoft Office Lens to scan documents to PDF. Microsoft Office Lens exists for Windows, Android and iOS operating systems. It is also described as part of the university guidance on Open Book exams.
It is easily possible to scan directly to OneDrive or alternatively you can scan to local phone storage and then share those files to an email application or similar.
- Download Microsoft Office Lens for
- Start Microsoft Office Lens and give it the storage and camera permissions it requests
- If you want to scan to OneDrive:
- go to Settings by clicking on the "three dot" menu -> "Settings".
- under Accounts add your OneDrive account by clicking "Sign in" and then typing your Maths email address and finally signing in with your SSO account. Once the account is added you can exit Settings.
- Now you can scan your document by pointing your phone at it and pressing the "shutter button". If you are scanning one page, you can click on "Done" otherwise click on "Add New" and continue scanning the pages in order by pressing the shutter button for each page and finally click on the orange arrow on the right and then "Done" to finish the scan.
- Now make sure only PDF is ticked, which will default to OneDrive if you setup your OneDrive account above. If you want to choose phone storage instead you can click on the word "PDF" and it will allow you to choose phone storage instead.
- Finally click "Save"
- If you scanned to OneDrive it will automatically upload and you can then find it in your OneDrive in the folder "Office Lens", otherwise it is saved locally and you can click on the file to share it to an Email application or similar, depending on your operating system.
CamScanner
- Download CamScanner for
- iPhone/iPad [this version will work on all iOS devices, but there is also a dedicated iPad version if you want it in high resolution on the iPad]
- Android
- Start CamScanner
- Click on the large camera icon at the bottom
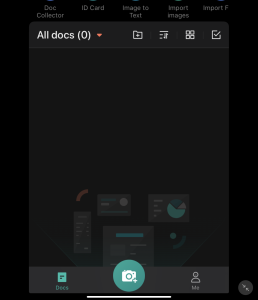
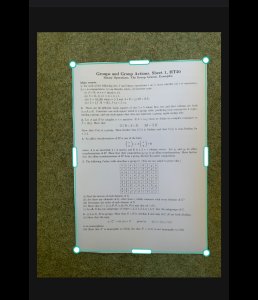
- Put your work on a flat surface (ideally darker in colour so that the application can recognise the paper contours better), hold your phone above it and click the camera button when your document is fully in shot and focused.

- CamScanner will try to recognise the contours automatically, but if it gets it wrong you can drag them into place as required.
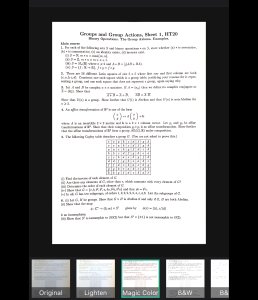
- Leave the default "Magic Color" option as it usually chooses the best option for the type of document. However you can play around with this if you wish.
- If your document has more pages, you can choose to add more pages and go through the same process for each page.
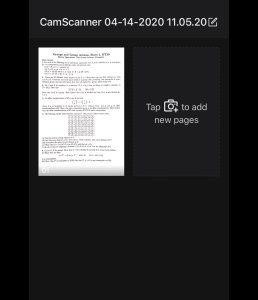
- When done adding pages, click on "Email" at the bottom. (Alternatively if you don't have Email setup on your iPad you could click on "PDF Preview" and then share that with the relevant application to send the PDF in a different way.)
- Choose "PDF"
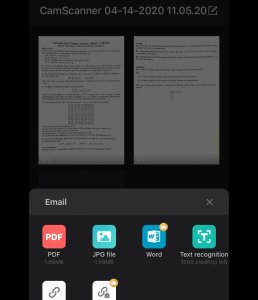
- If you are happy with everything click "Send" which will allow you to choose your email application and send it out.


