

Exporting your Zimbra account to Gmail
This page illustrates how to export the contents of your departmental Zimbra mailbox to Gmail. It assumes you already have a Gmail account and know the username and password.
The screenshots can be enlarged by clicking on them.
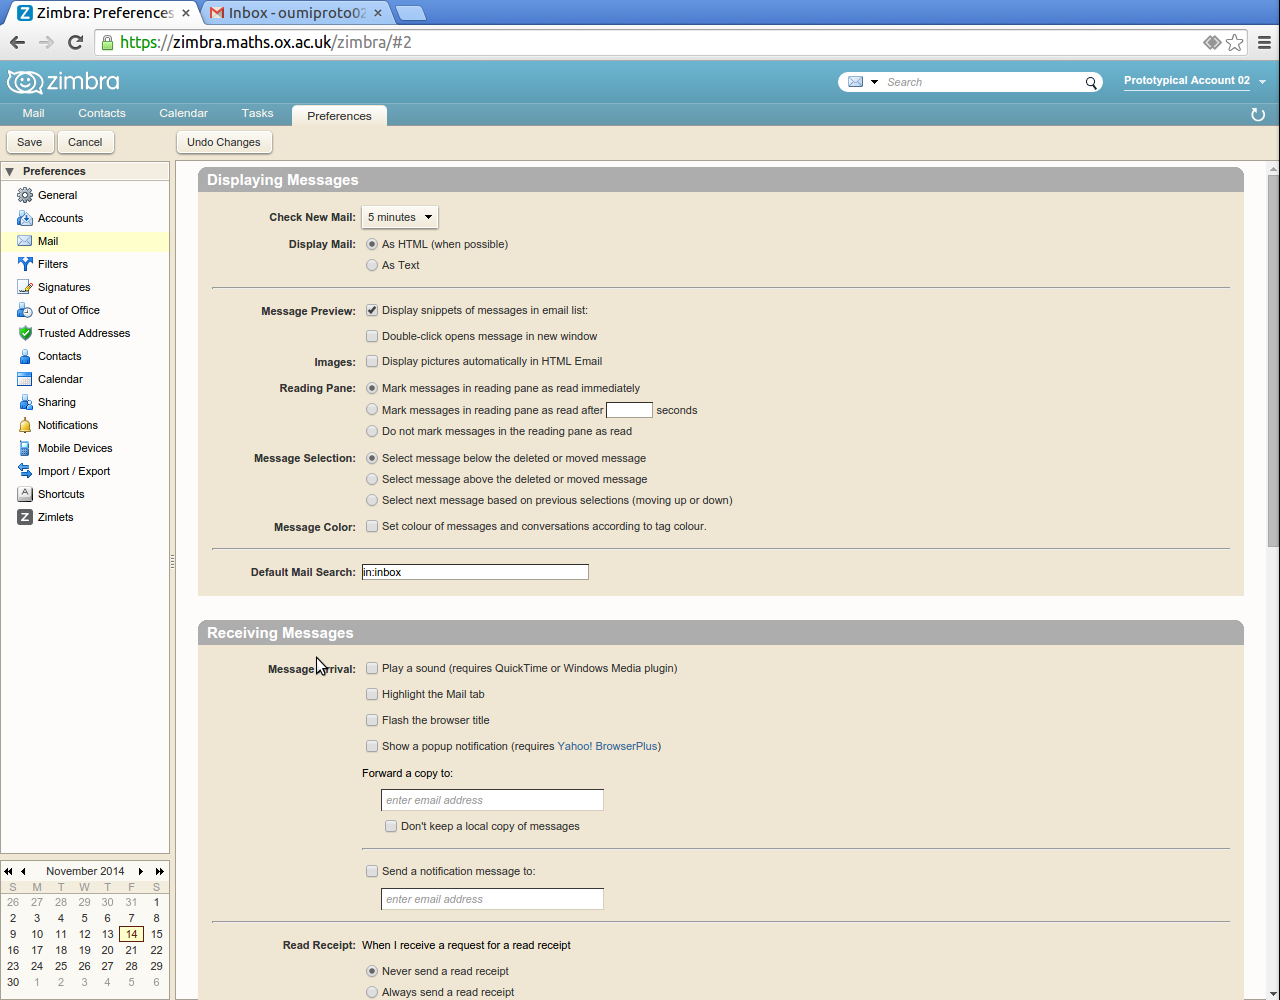
- First, ensure new messages are getting sent to our Gmail account. To do this, we need to edit the settings for message forwarding. This is achieved by logging into our Zimbra account using the web interface, clicking the Preferences tab, and then clicking Mail on the left hand menu, e.g.
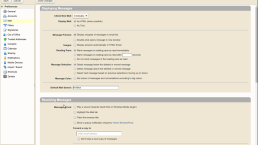
- Now we add our Gmail e-mail address to the Forward a copy to: section and ensure we've checked Don't keep a local copy of messages.
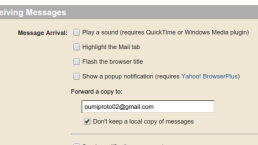
When you're sure this is correct, click Save at the top left of the window.
Now, all new messages are being sent directly to Gmail, so our Zimbra mailbox remains in a constant state.
- Next, we need to log into our Gmail account. Click the cog icon
 and choose settings.
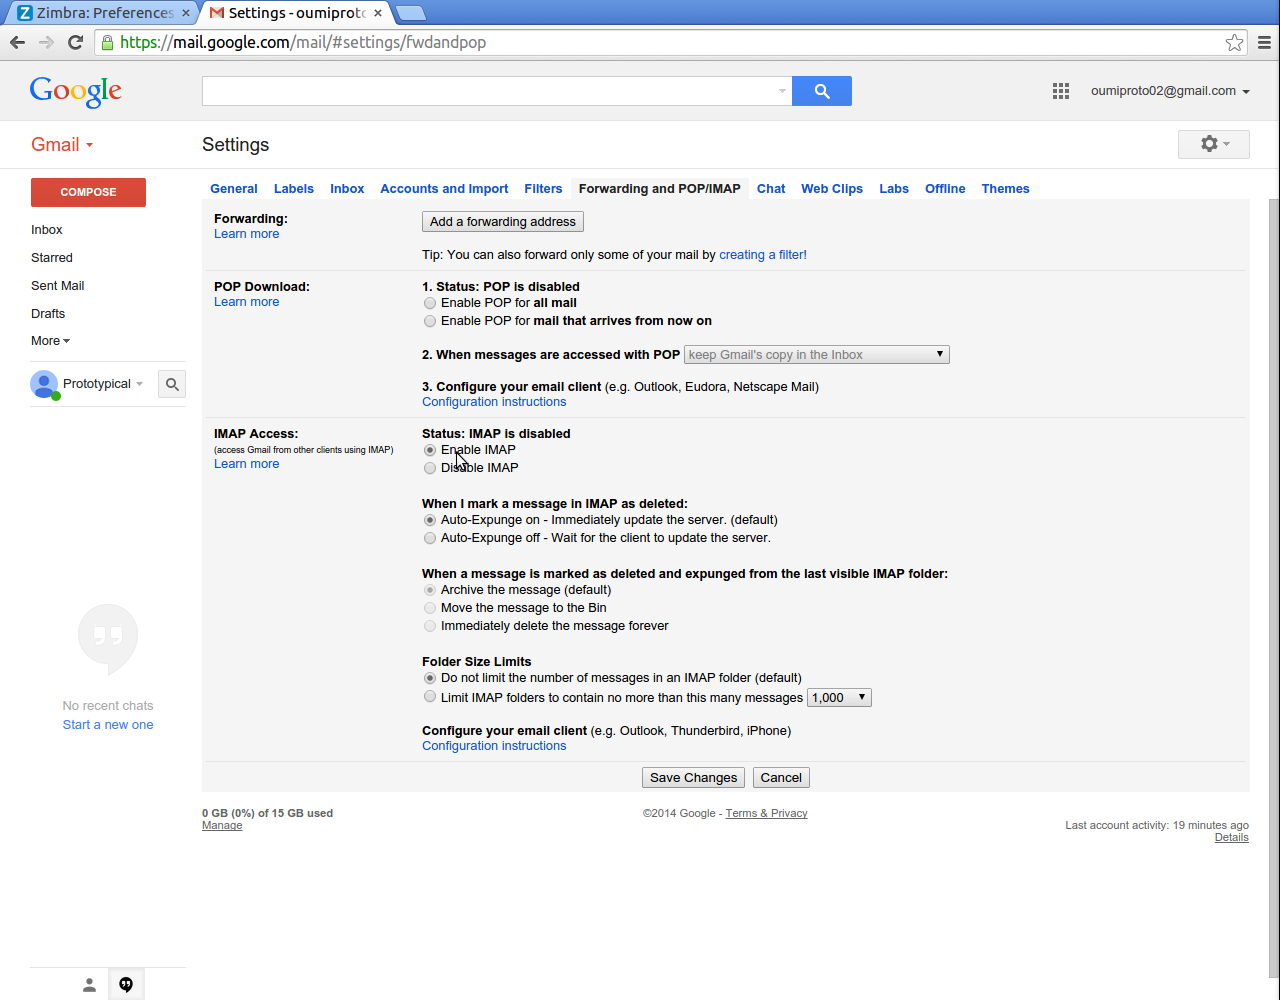
- Make sure we've enabled IMAP access for Gmail by clicking the Forwarding and POP/IMAP link at the top of the Settings window, and checking the Enable IMAP radio under the IMAP Access: section. e.g.

Once you have done this, click Save Changes. In addition, you will need to enable 2-Step-Verification and create an app password to use in place of your Gmail password for this to work. - Now, go back to your Zimbra account and go back to the Preferences tab (See screenshot 1), but this time, select Accounts from the menu on the left.
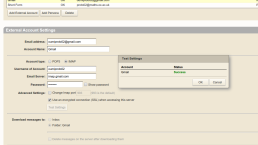
Click Add External Account and enter the details for our Gmail account. In this case our details are:- Email address: @email
- Account Name: Gmail (This will be used as the name of the folder our Gmail account appears under)
- Account type: Check IMAP
- Username of account: @email
- Email Server: imap.gmail.com
- Password: (The app password created in the previous step)
- Advanced Settings: Check Use an encrypted connection (SSL) when accessing this server.
- Click Test Settings and you should get a Success message. Click OK and then click Save at the top left of the screen. Your IMAP account for Gmail is set up.
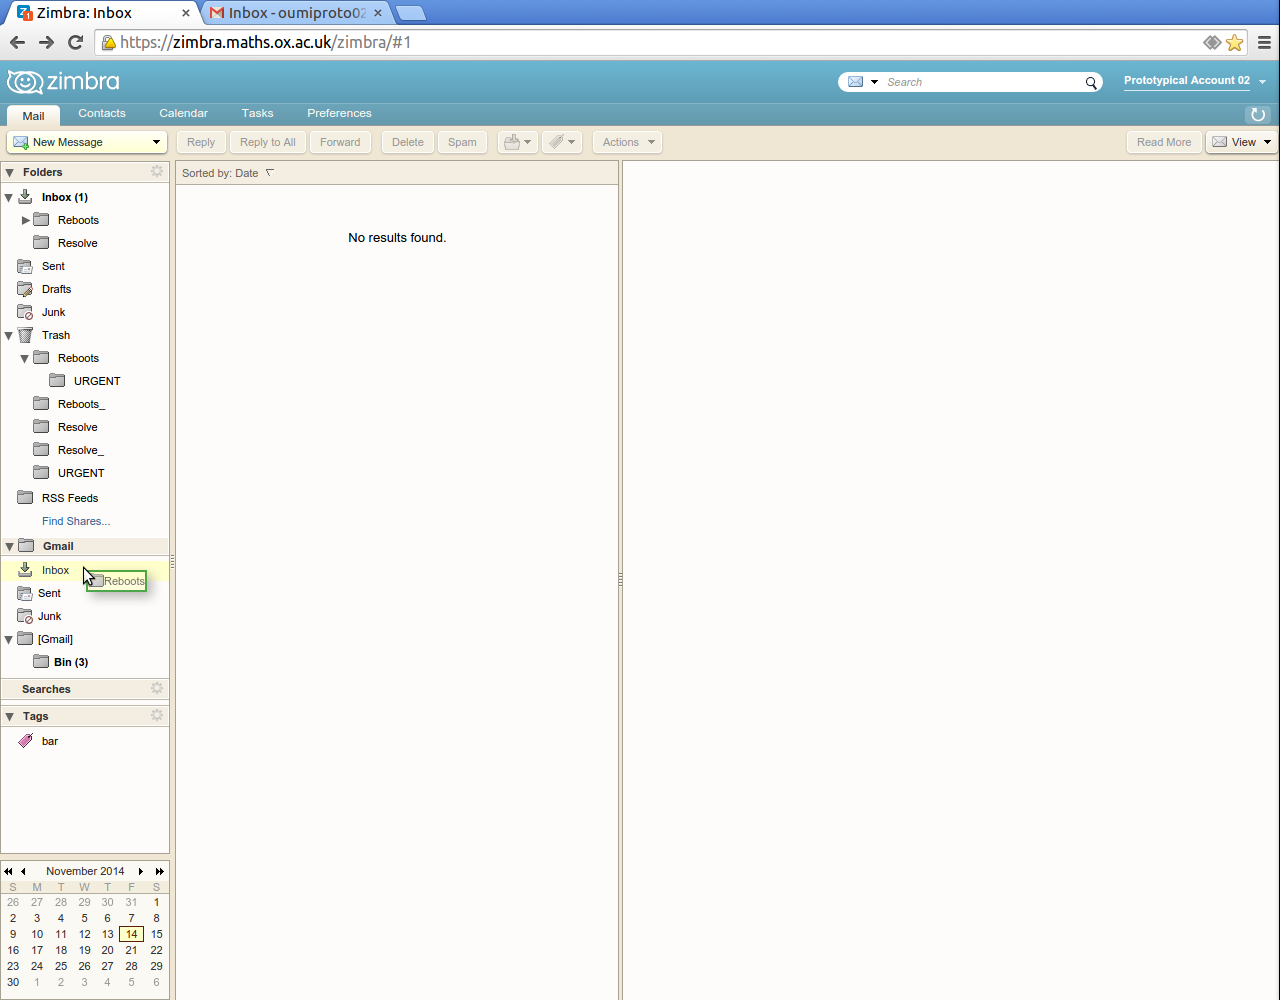
- Next, we simply drag and drop the folders and messages from your Zimbra folders in to the Gmail section, e.g.
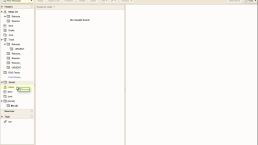
And for the messages in your Zimbra Inbox, select all and drag them into the Gmail Inbox.
Be aware that the messages won't synchronise immediately with Gmail, you'll need to click the refresh button while viewing the Gmail inbox for the changes to take place. The refresh icon in Zimbra is the circle with an arrow and can be located at the top right of the Zimbra Web Interface window, e.g.
- Once you have done the above for all folders in your Zimbra account, carefully check they are present in your Gmail account. If any are missing, select the folder that hasn't updated from the Zimbra web interface and click the refresh button again.


Congratulations. You have successfully moved your Zimbra e-mail to Gmail.